CLOUD SOLUTIONS
Securing Apex Domain with Azure Front Door
Introduction
This guide will take you through how to setup your application to run at the apex domain with Azure Front Door (AFD).
Prerequisites
- Azure DNS Zone deployed
- Azure KeyVault deployed
- App Service or VM deployed with application (must be deployed before creating AFD)
- Azure Front Door deployed
Guide
Create Certificate
We will generate a certificate for the apex domain using Let’s Encrypt
1. Install Certbot for manual generation
2. Create certificate to be used on any machine
certbot certonly --manual --preferred-challenges dns3. Follow instructions to add the TXT record in your Public Azure DNS Zone.

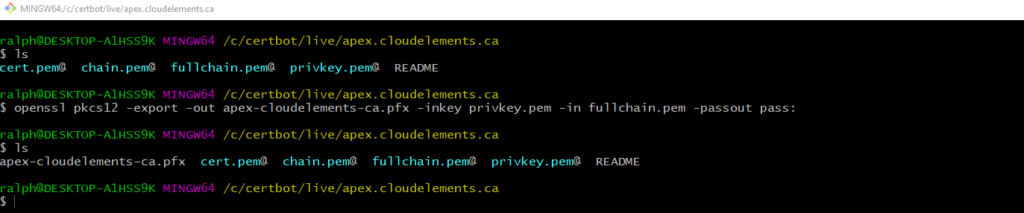
4. Convert certificate to .pfx format:
Note: Use elevated prompt. To avoid downloading openssl on windows, use Git Bash.
openssl pkcs12 -export -out my-apex-domain.pfx -inkey privkey1.pem -in fullchain1.pem -passout pass:<private_key_out_password> -passin pass:<private_key_in_password>
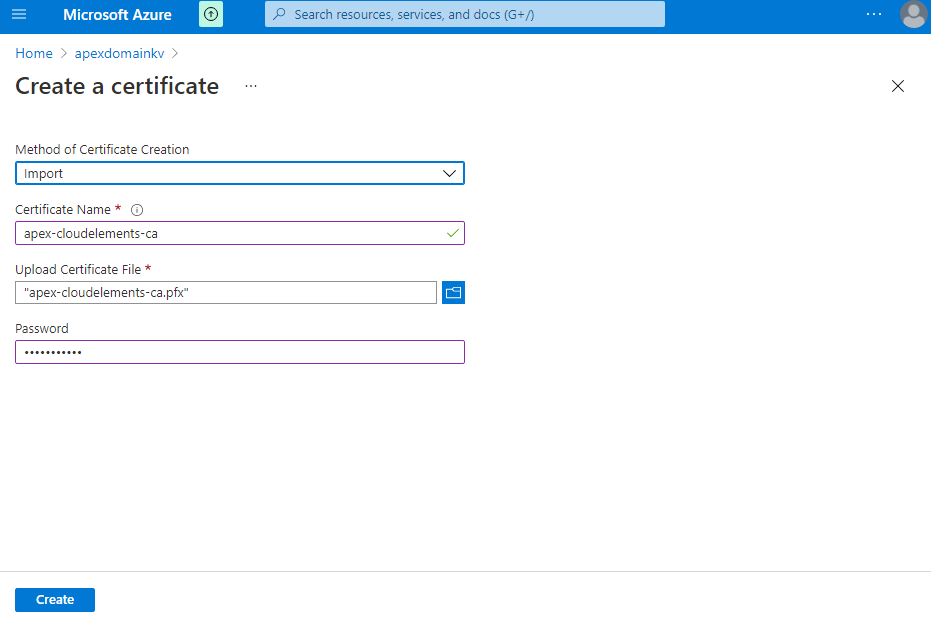
5. Import pfx certificate to KeyVault
Secure Azure Front Door with Custom Apex Domain
1. Add the '@'' Alias (A) record to your apex domain and select the AFD resource.
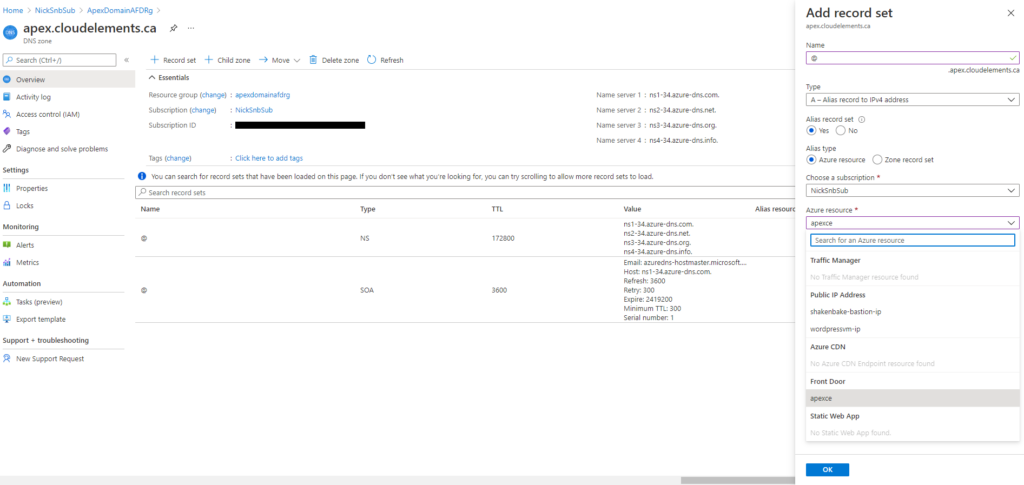
Once you add the A record you will also notice a CNAME that is added by AFD to verify the domain.
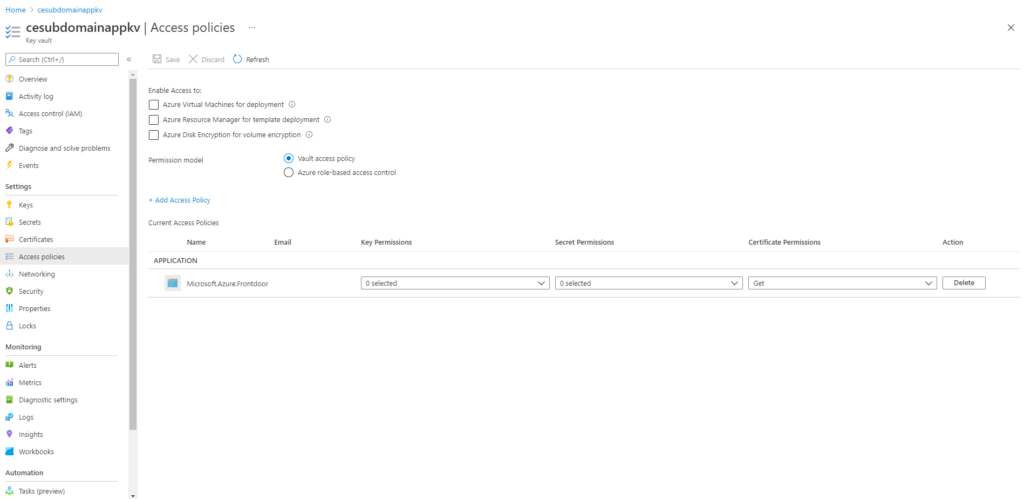
2. Create, and assign 'Get' permission in the key vault access policy for, the identity of Azure Front Door
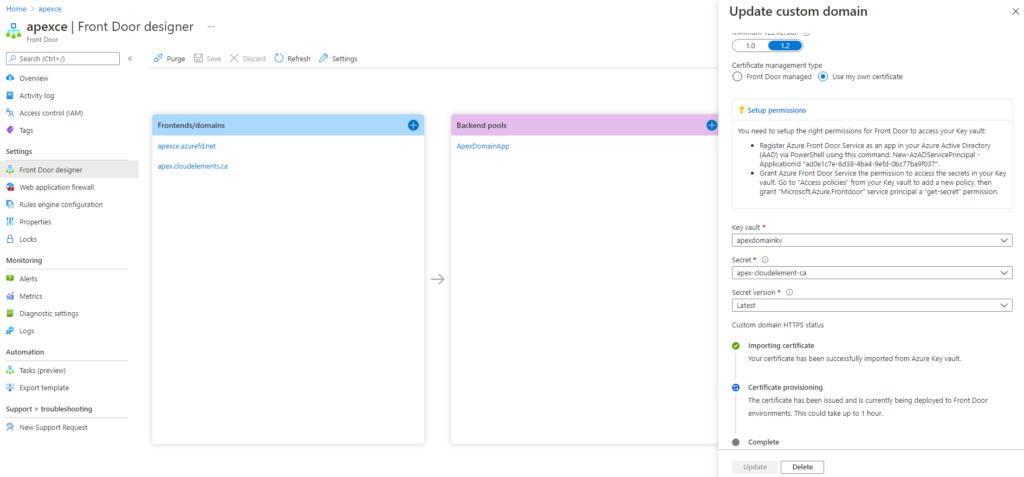
3. In AFD Designer, add custom domain name in “Frontends/domains”, select “Use my own certificate”
Note: If you are using AFD v1, you will need to make sure certificate is uploaded to KeyVault before starting this step. If you originally selected Certificate management type “Front Door managed” and try to switch to “Use my own certificate” after, Azure will throw the following error when you try to save the configuration:

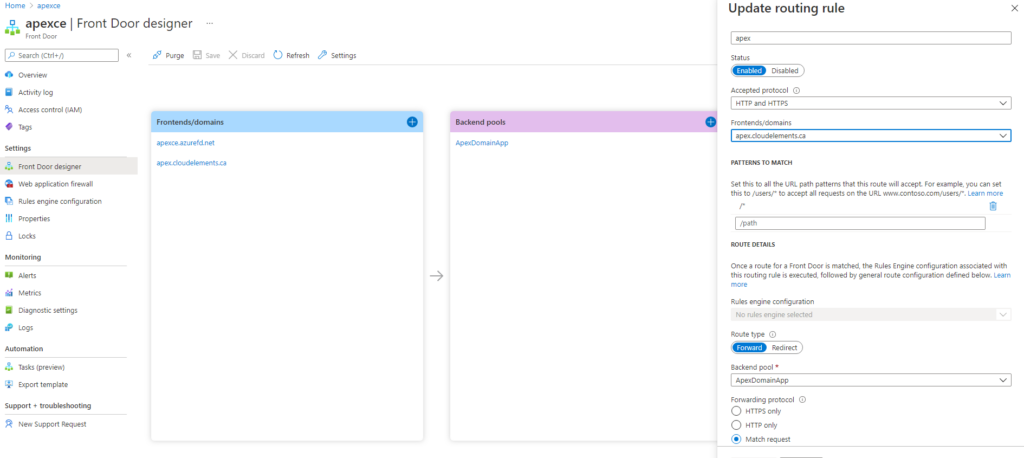
4. Add rule to allow front door to route traffic to custom domain
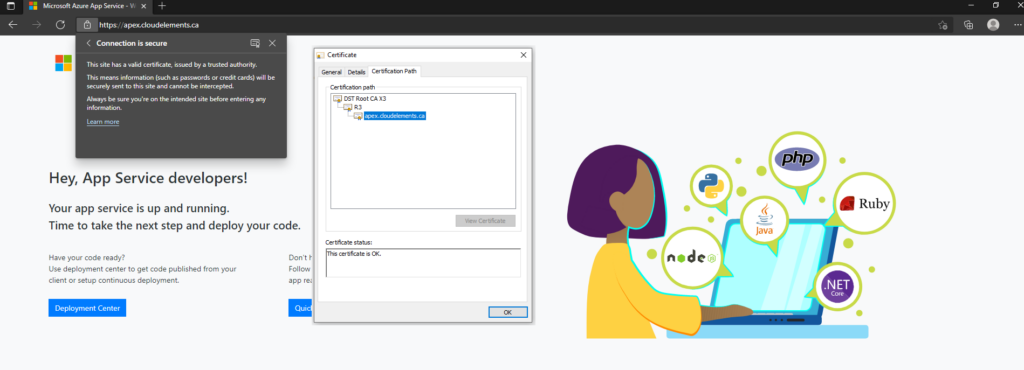
5. Save the configuration and wait for AFD to finish deploying the certificate.
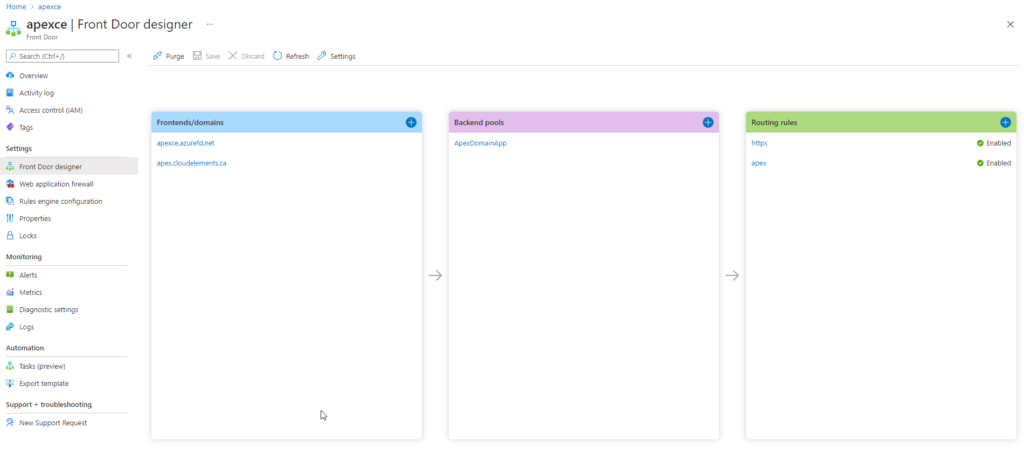
Now you should be able to browse to your site through the custom apex domain